Managing Teams and Permissions
MariMap uses organization-based access so teams can collaborate on projects and surveys securely. Administrators can invite team members, manage roles, and control access at the organization level. This guide explains the Team section in MariMap and how to set up roles for field teams, coordinators, and administrators.
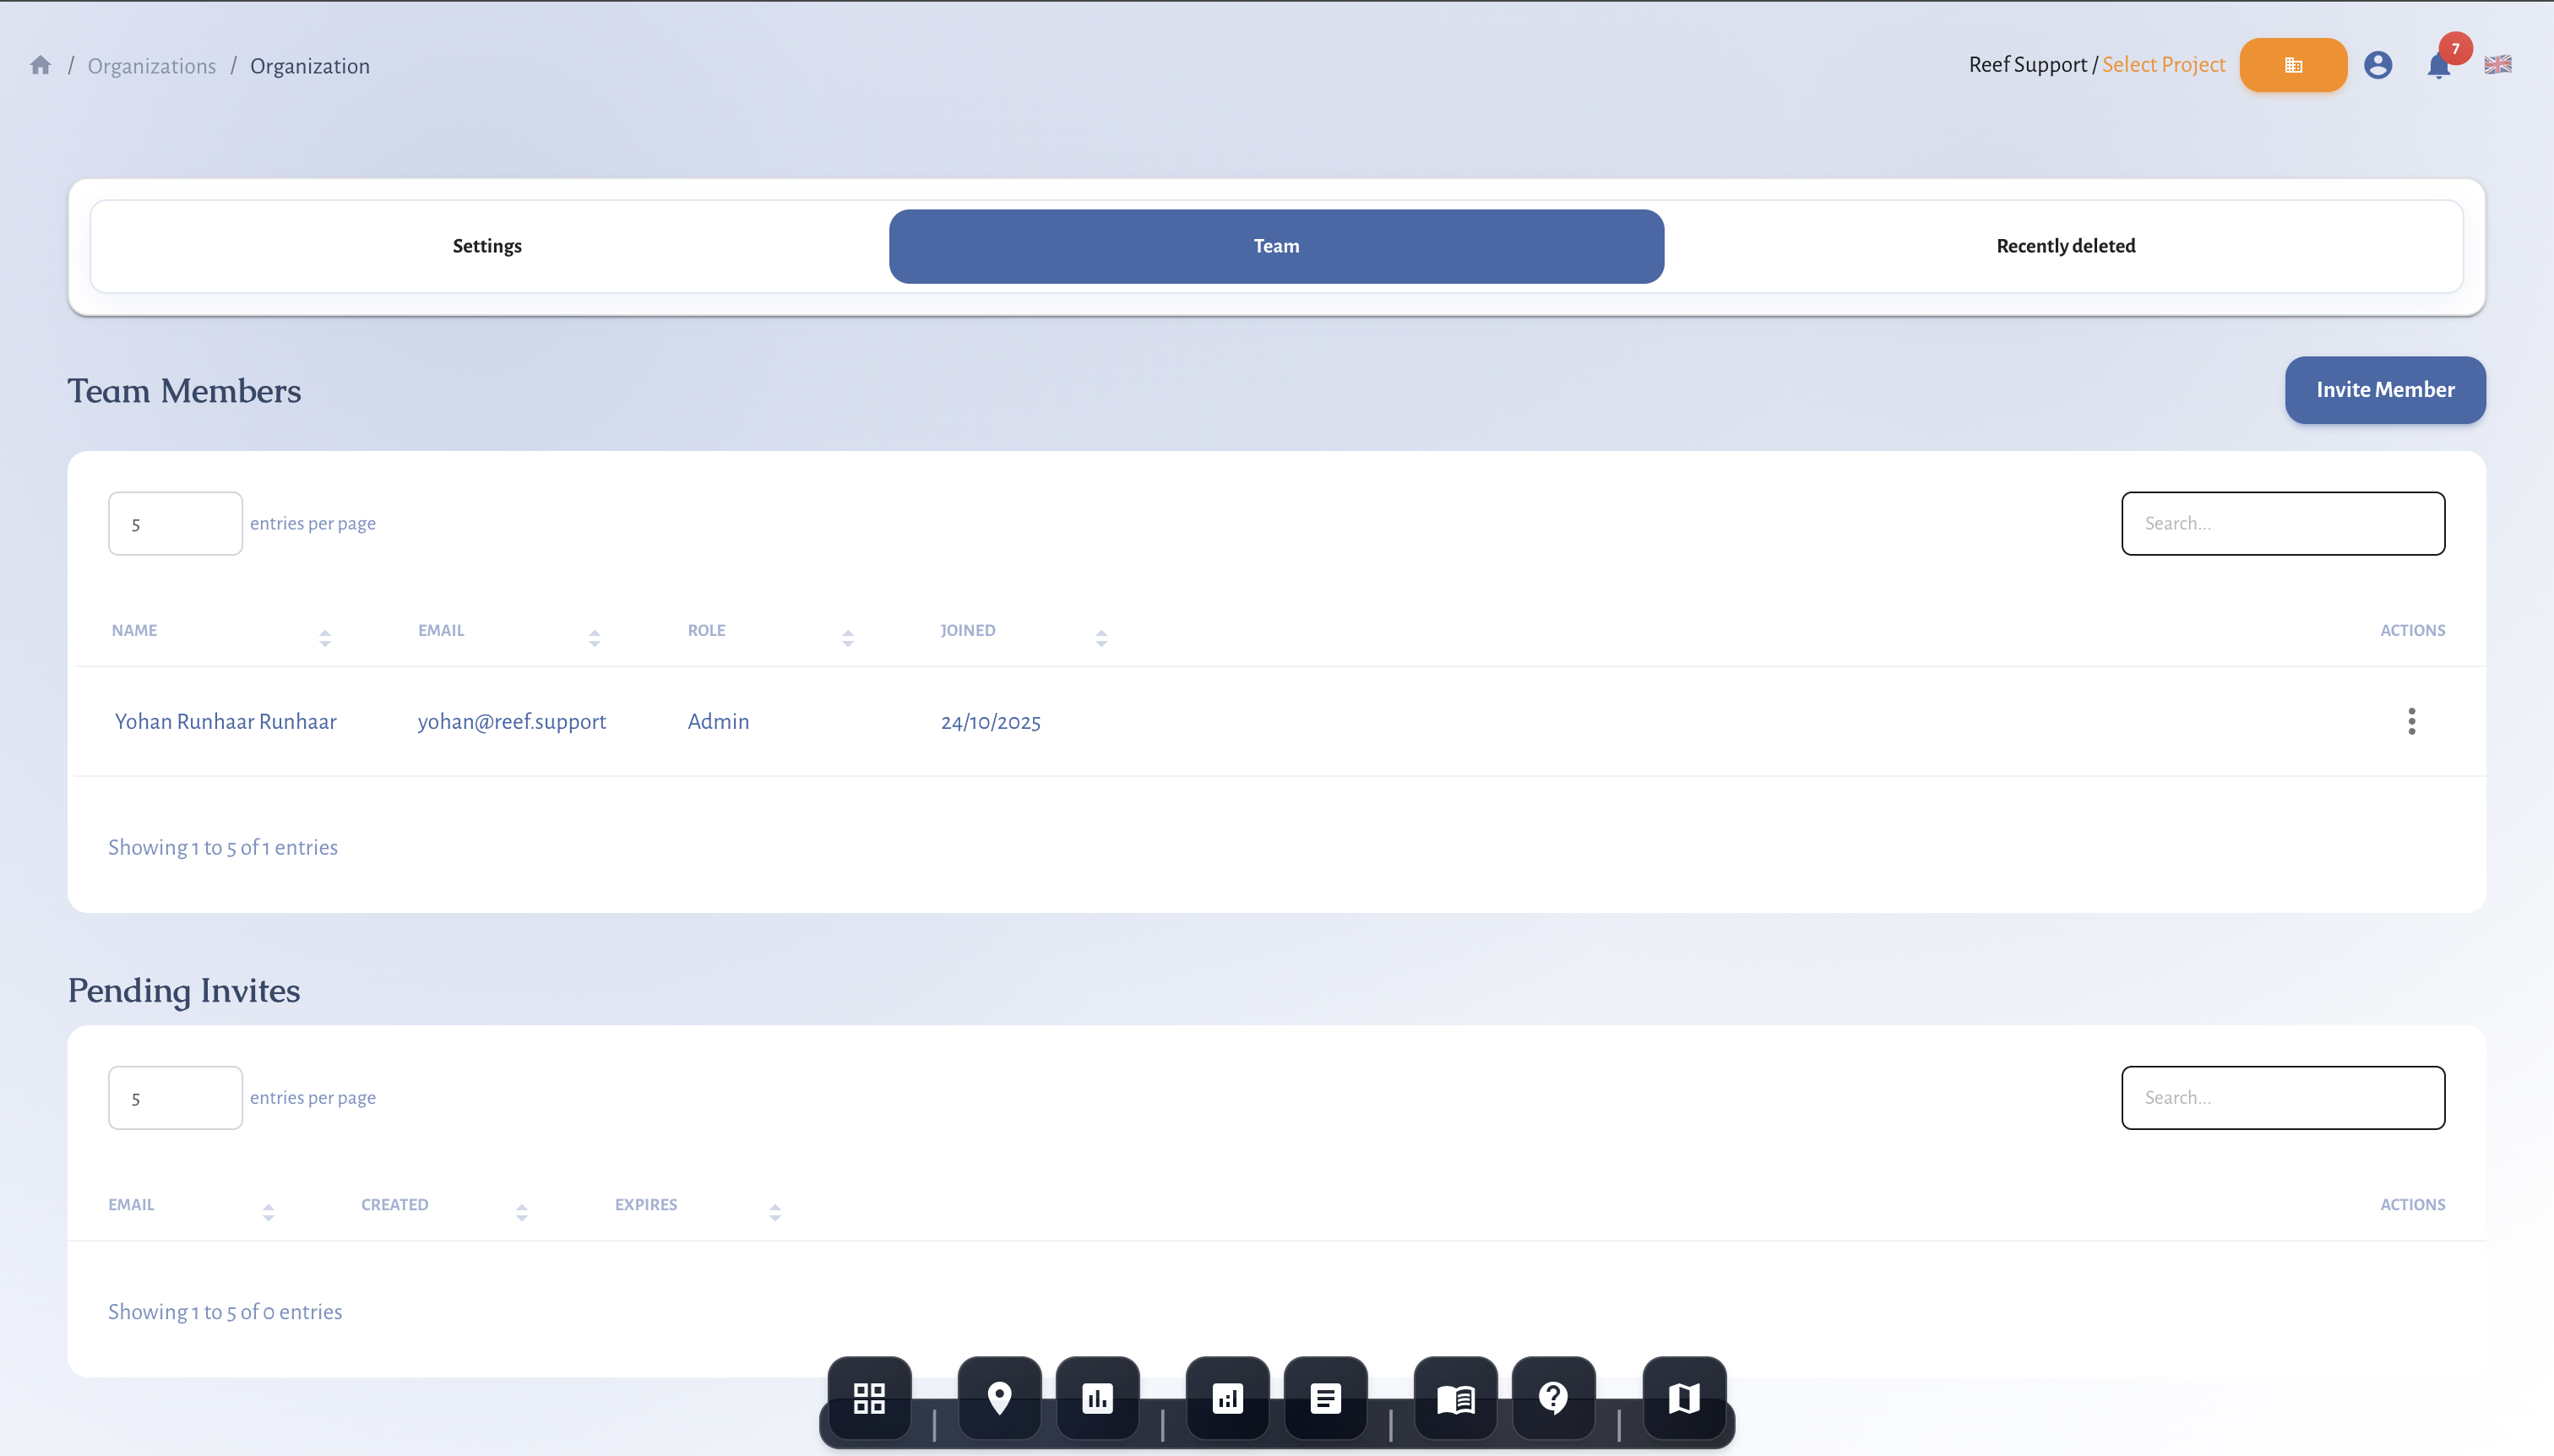 Manage team members from the Organization page.
At a glance
- Team management lives in Organization → Team.
- Admins invite by email and manage roles.
- Personal organizations do not show a Team tab.
- Organization membership controls access to projects and sites.
- Clear roles keep collaboration secure.
Before you start
- Select the correct organization in the top bar.
- Confirm you have admin access.
- Prepare the email addresses you want to invite.
Plan your organization setup
MariMap uses organizations as the access boundary for projects and data. Keep one organization per institution or program so your team shares the same project list and reporting history. If you collaborate with partners, decide which organization owns the projects before sending invitations.
Choose Admin vs Member roles
Admins manage organization settings, invitations, and roles. Members can work on projects and surveys but cannot change organization access. Keep admin access limited to people who handle governance or reporting.
Onboarding checklist for field teams
- Confirm the correct organization appears in the top bar.
- Share project naming rules and the site ID format.
- Review survey protocols and required photo metadata.
- Agree on when field data should be uploaded and reviewed.
Keep access current
At the end of a field season, remove or suspend access for inactive users. Review the Team list before funder or regulatory reporting to keep audit trails clean.
Step-by-step in MariMap
1) Open the Team page
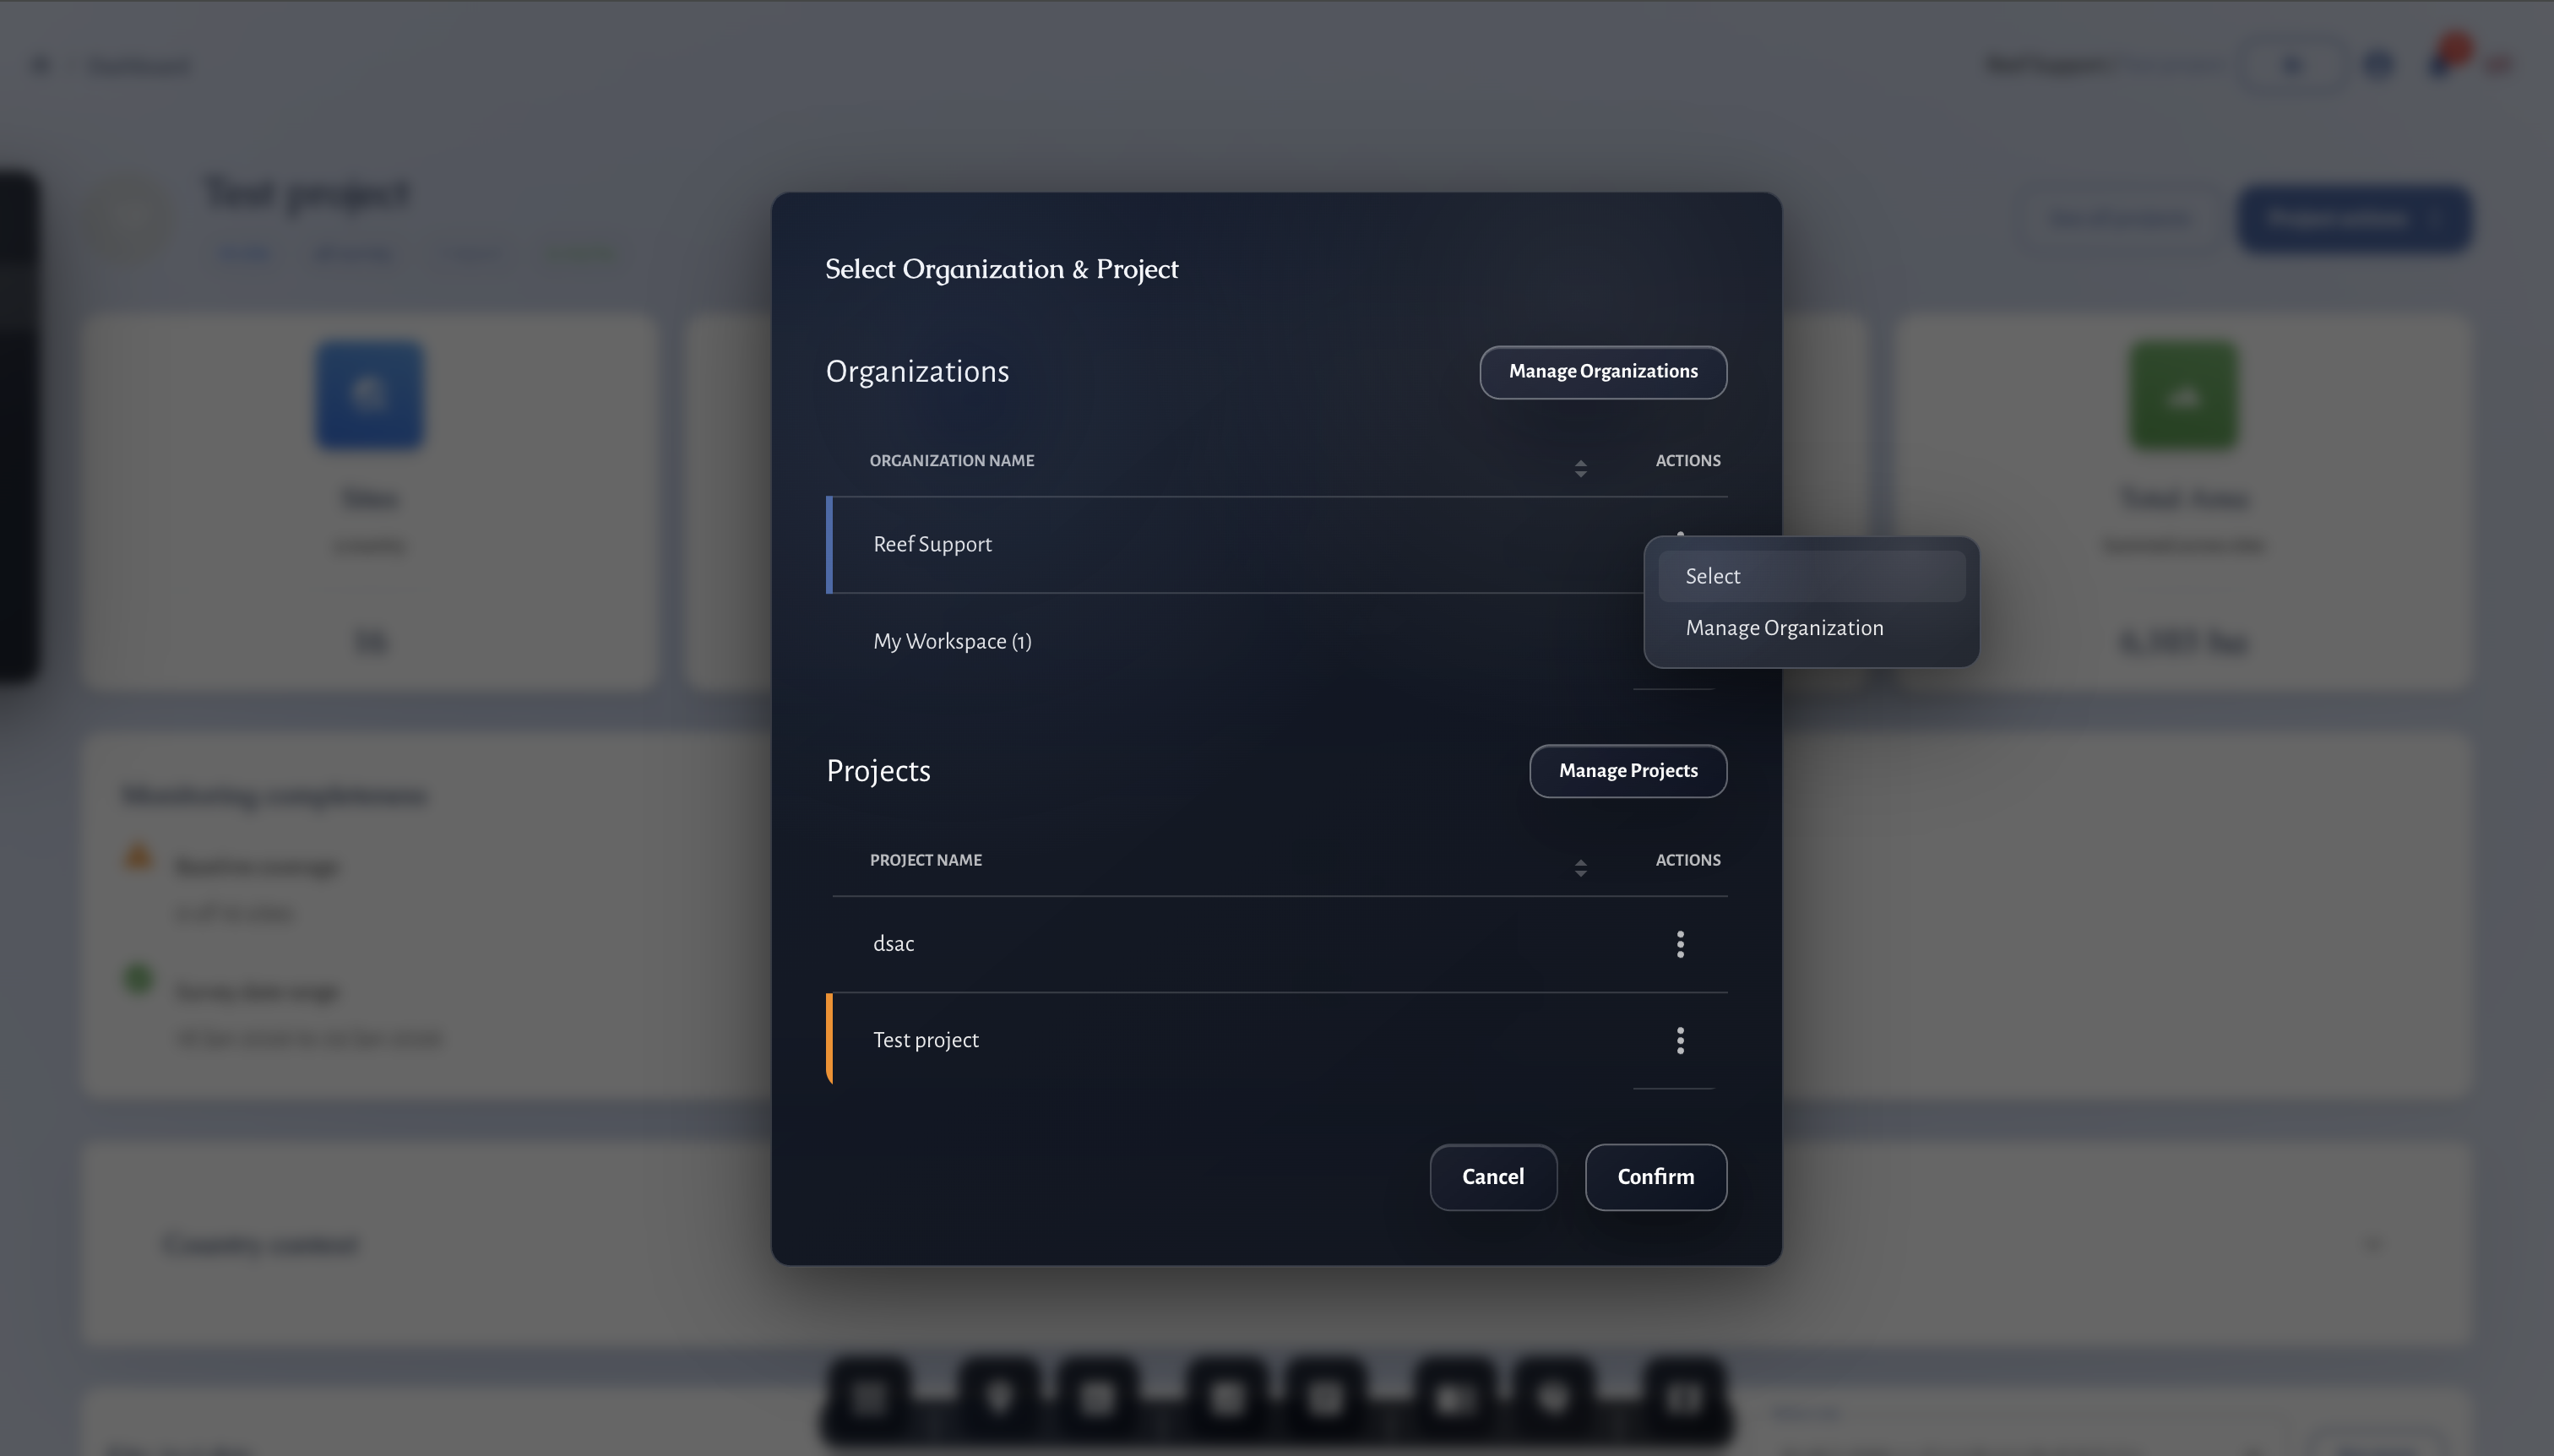
- Open the project picker and click Manage Organizations.
- Select your organization.
- Open the Team tab.
2) Invite team members
- Click Add team members.
- Enter one or more emails.
- Send the invitation.
Pending invites appear in the team list.
3) Manage roles
- In the Team table, open the actions menu for a member.
- Promote or demote between Admin and Member.
- Admins can remove members if needed.
4) Manage invitations
- Review pending invites.
- Cancel an invite if it was sent by mistake.
How access works in MariMap
Organization membership defines who can view and work on projects and sites. Keep the list clean so only active collaborators have access. Promote someone to admin when they need to manage projects or reports.
Collaboration tips
- Keep admin access limited and add field teams as members.
- Use consistent project names.
- Remove inactive users.
- Review the team list before reporting deadlines.
Common issues
- No Team tab: you may be in a personal organization.
- Invite not received: verify the email address and resend.
- Cannot change roles: only an admin can update roles.
MRV readiness and disclosure alignment
- Baseline vs repeat surveys: mark baselines and keep repeat surveys on comparable geometry.
- Monitoring plan logic: define cadence, QA/QC thresholds, and conservative handling of uncertainty.
- Outcome types and claims discipline: record uplift, avoided loss, or maintenance credits; separate inputs from verified outcomes.
- Rights and integrity: document FPIC, customary marine tenure, OECM, ICCA, benefit sharing, durability mechanisms, and leakage risk.
- Disclosure alignment: map indicators to TNFD, CSRD, ESRS, EU Taxonomy, SBTN, and SBTi requirements.
- Use the Metrics Reference and Data Providers for definitions and sources.
Related guides
- Getting Started with MariMap
- Setting Up Your First Project and Site
- Generating Reports for Funders and Regulators
References