Creating a Survey
Each survey should be traceable to a site, method/protocol, and execution window (date/time). For long-term monitoring, surveys should be created from a plan so sampling units and geometry are repeatable.
Wizard steps (what you will configure)
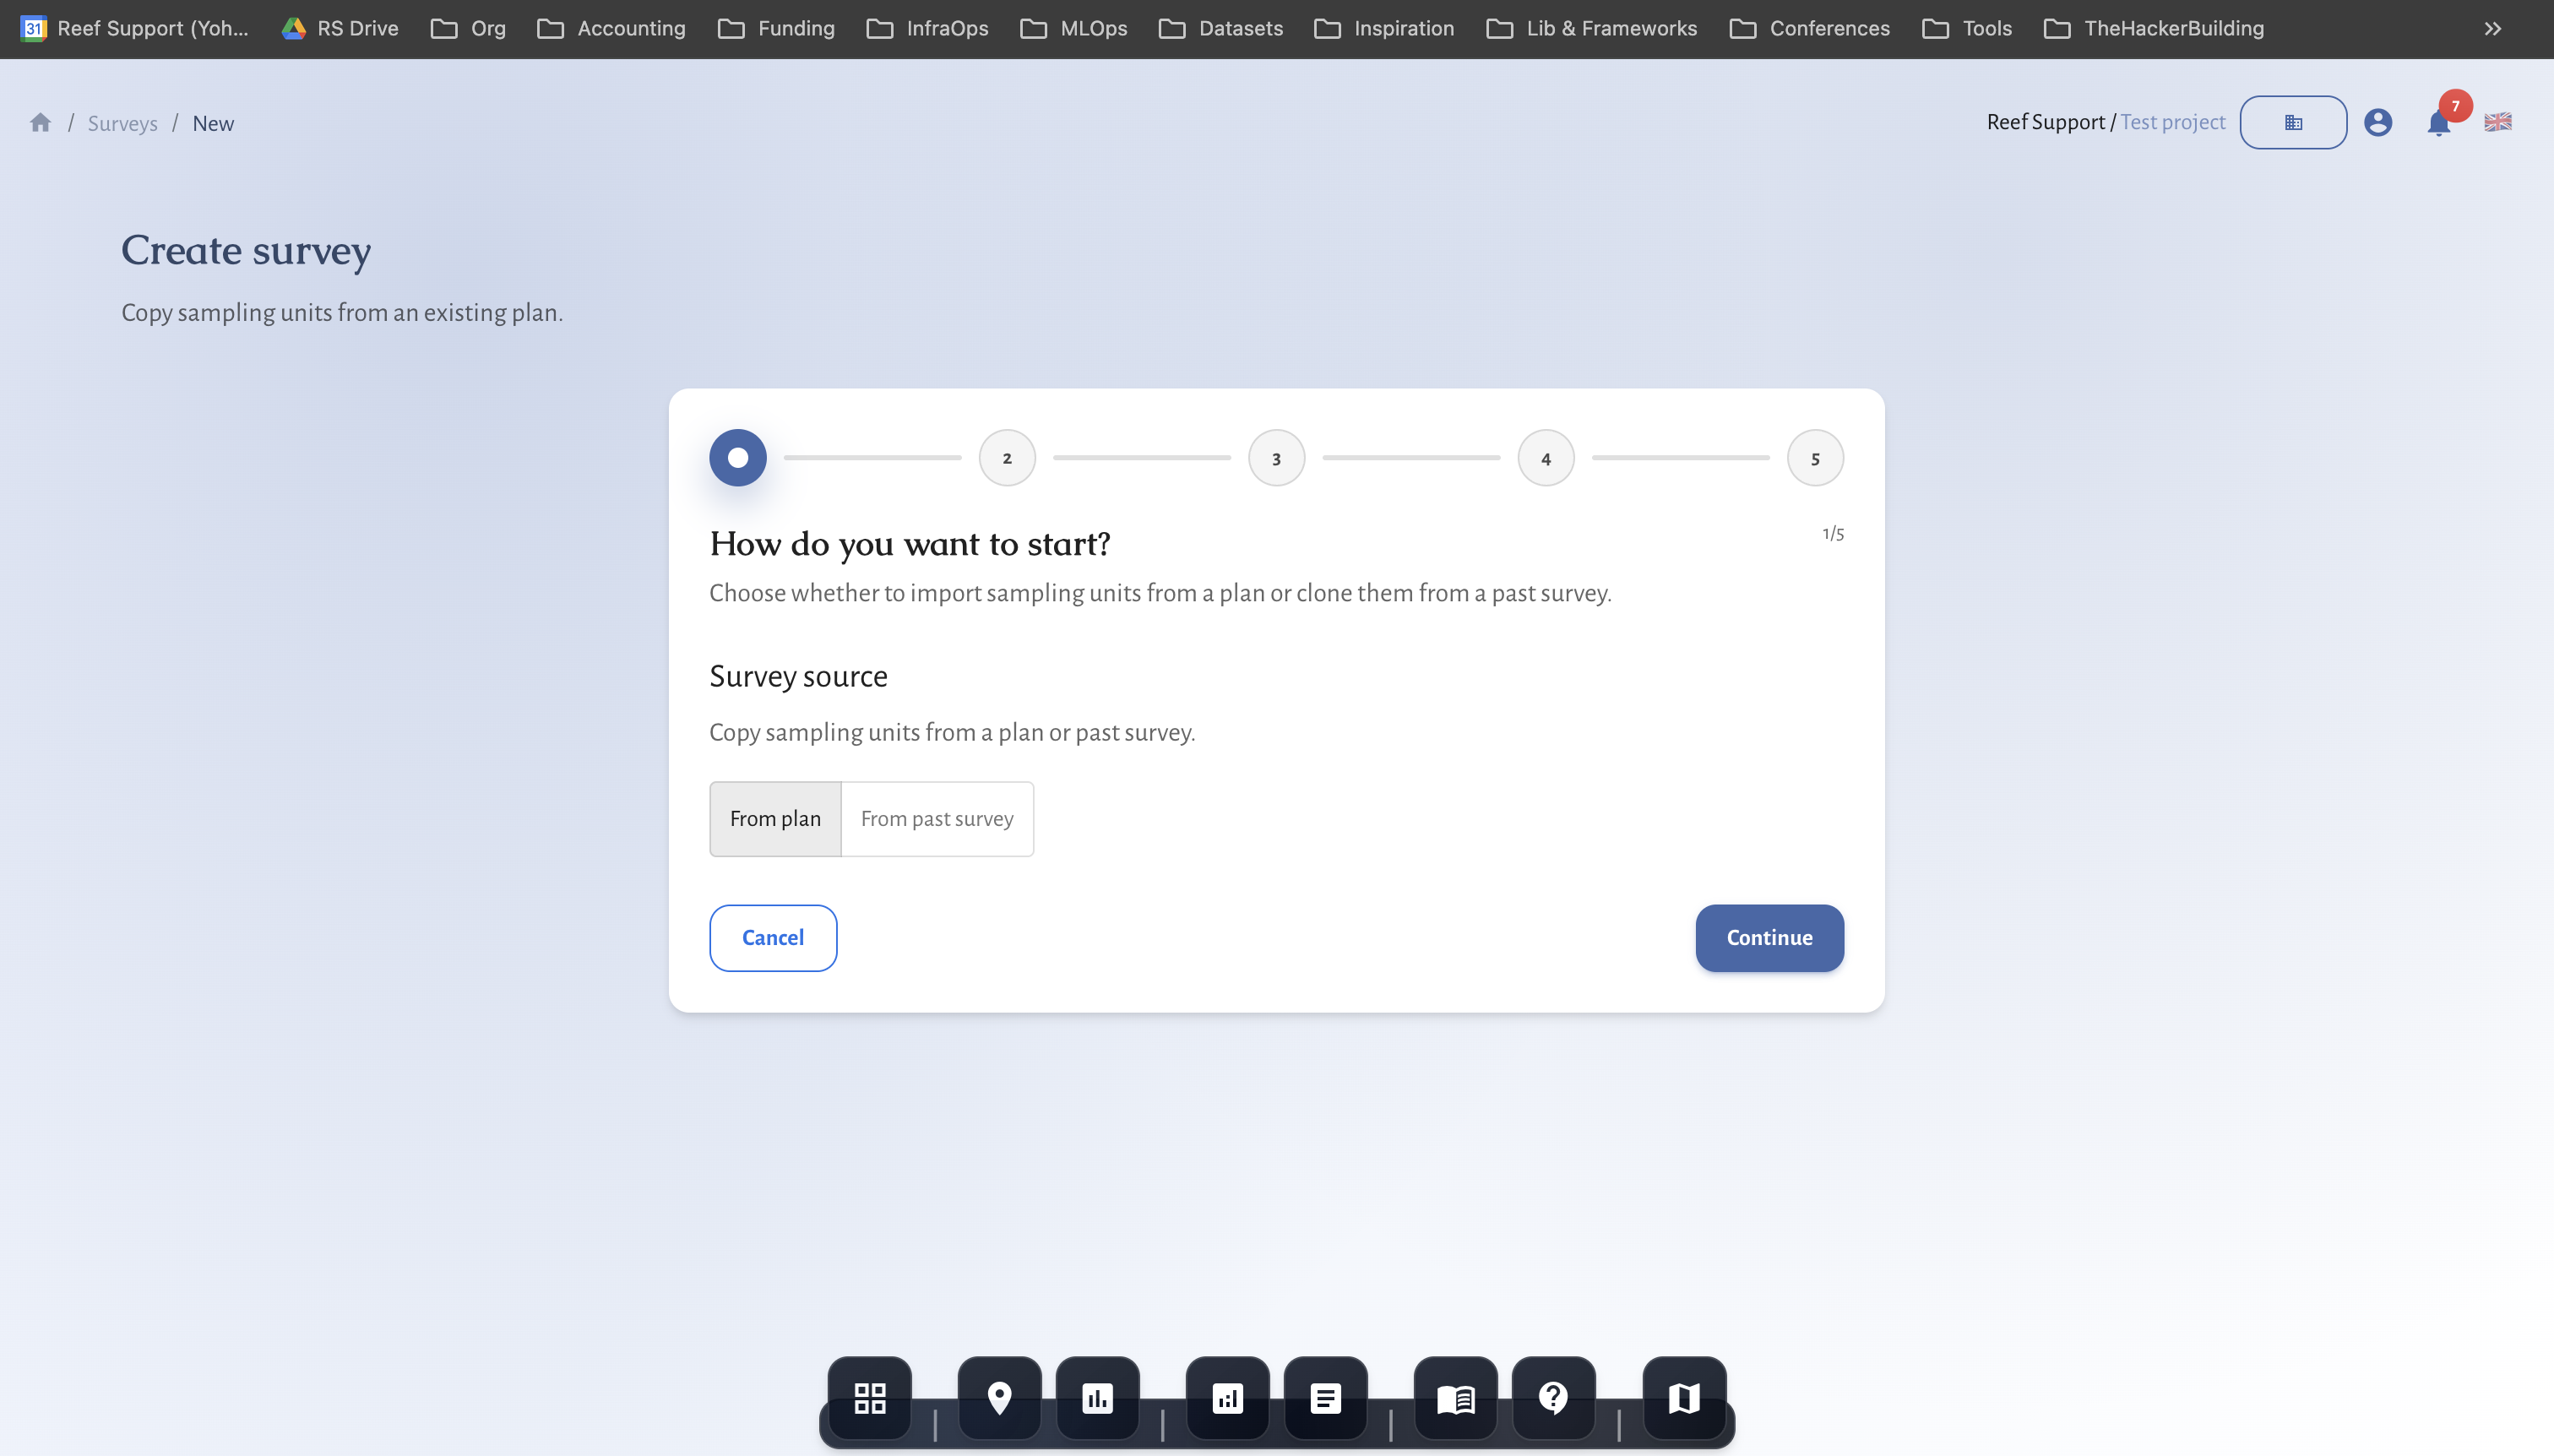
1) Source (how do you want to start?)
Choose how sampling units will be created:
- From plan (recommended): imports sampling units from a survey plan.
- From past survey: clones units from a previous survey to repeat geometry.
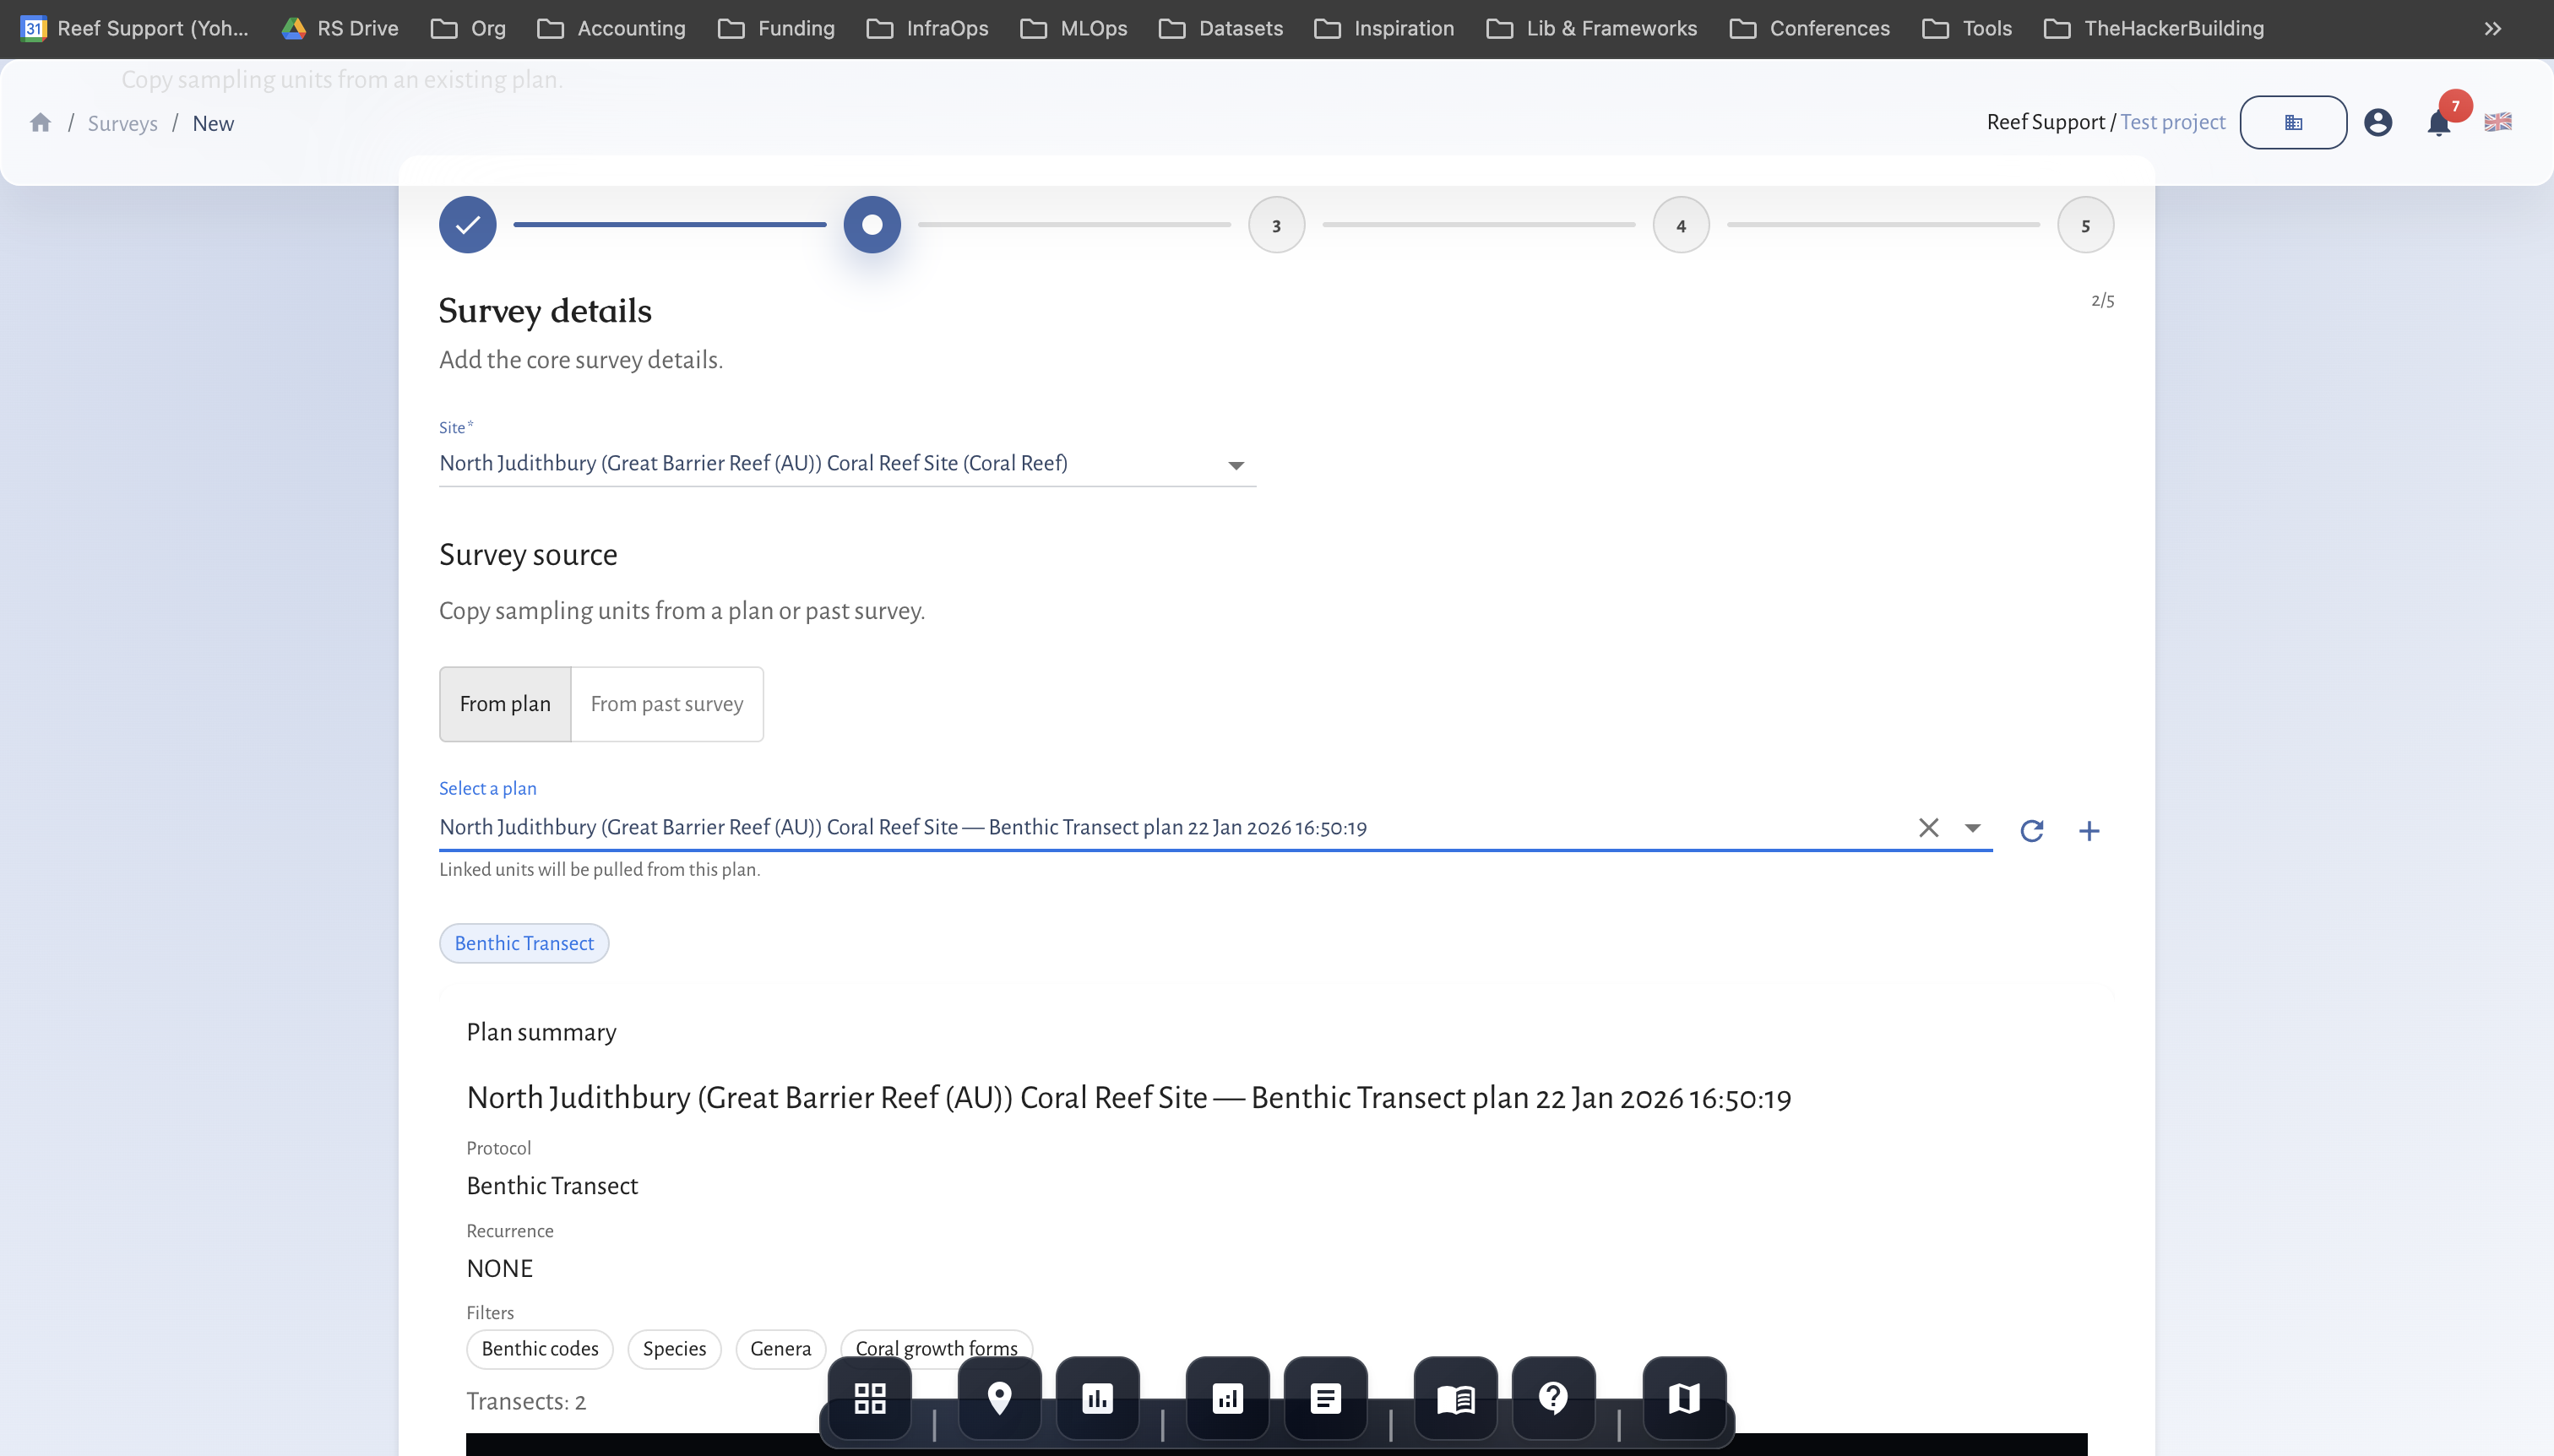
2) Survey details
Pick the site, then choose the plan (or past survey) you want to copy from. The protocol is derived from the source to prevent mismatched geometry.
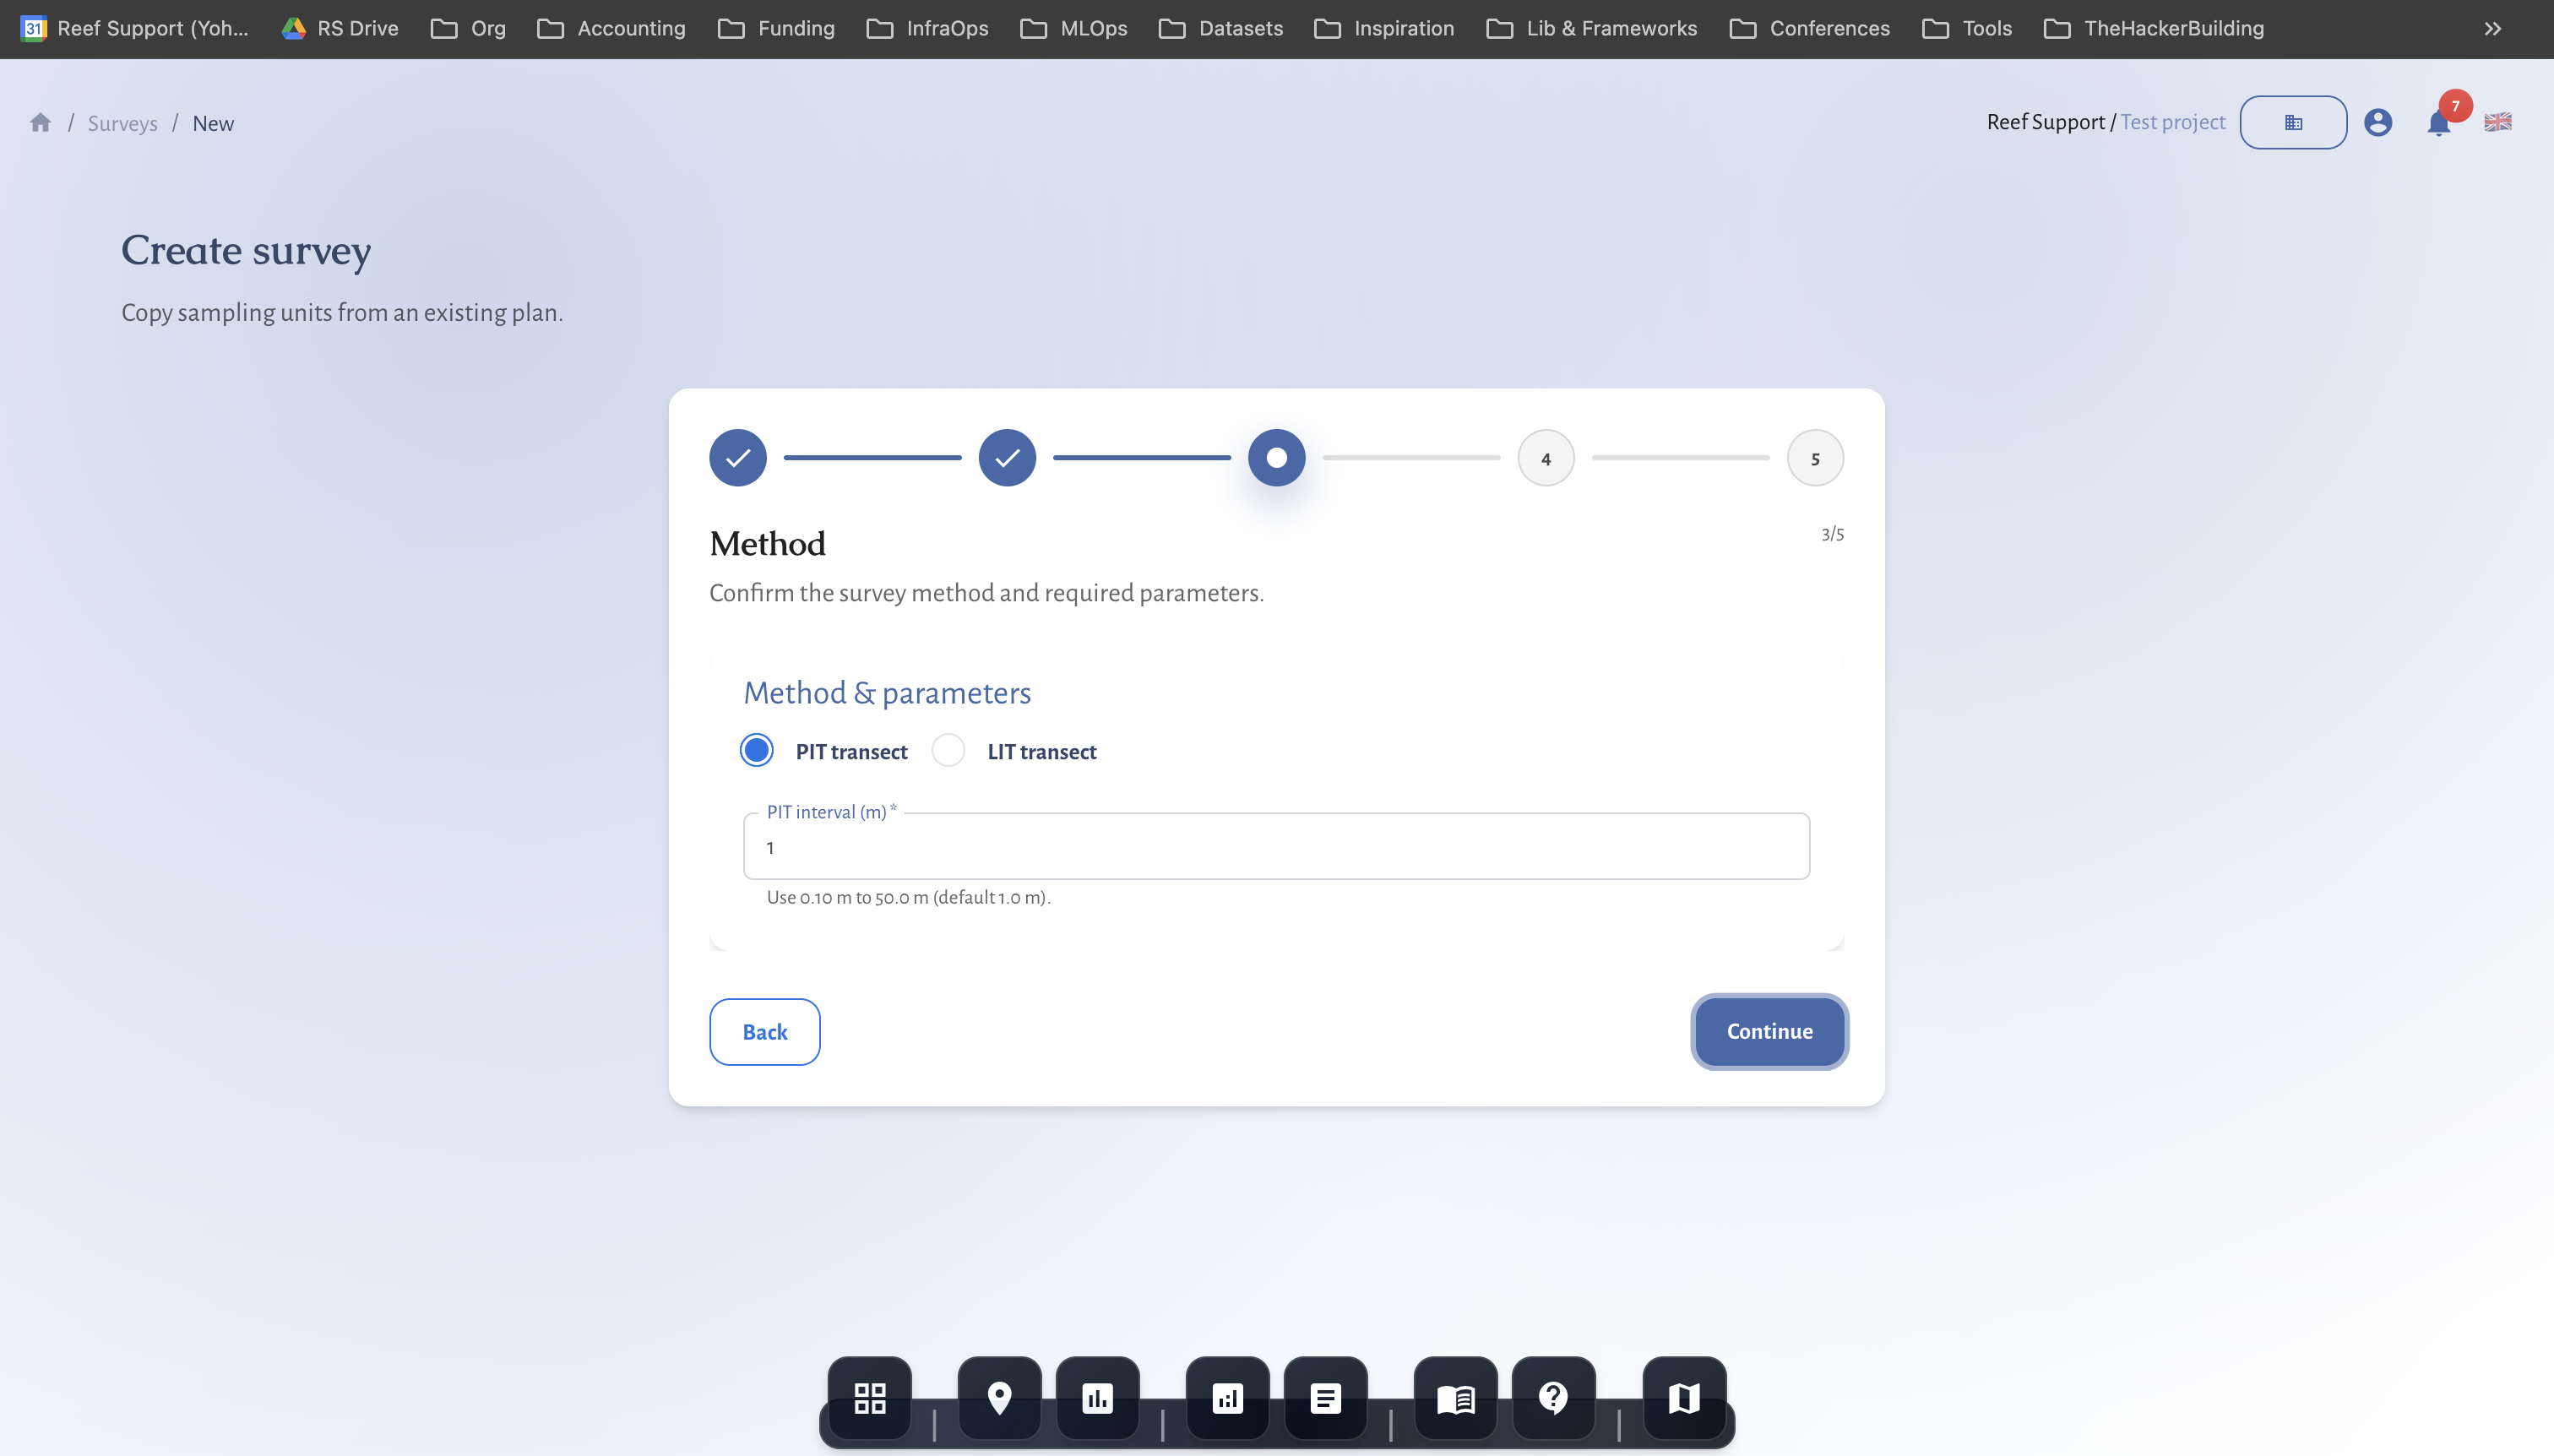
3) Method
Confirm protocol-specific method parameters. Examples:
- Transect protocols: belt width, PIT interval, health categories (as applicable)
- Image protocols: point/quadrat definitions and annotation expectations
- Tree growth: DBH/height measurement configuration and units
4) Participation & equipment (optional)
Capture participation context and equipment used:
- Participation mode
- Training provided (yes/no)
- Participant counts (total, women, indigenous, local community)
- Equipment used (filtered by protocol)
5) Review
Confirm key settings before creating the survey record.
Create from plan
- Open
Surveysand clickCreate survey. - Select
From plan(recommended). - Confirm site, date, and protocol.
Configure method details
- Review protocol-specific method settings.
- Confirm participant assignment.
- Save and open the survey workspace.
Review and submit
- Validate required fields.
- Complete survey creation.
- Start data entry.
Recommended workflow (QA/QC)
- Create the survey from a plan (or clone a past survey) to keep geometry consistent.
- Enter data and add notes as you go (visibility, weather, access, anomalies).
- Move the survey through status workflow:
- In progress: field work ongoing / data entry ongoing
- In review: QA/QC by lead/analyst
- Completed: locked-in, ready for analytics and reporting
- Use Analytics soon after completion to catch missing units, unusual values, or coverage gaps.